Advanced authoring in Microsoft Word – Part 3: Heading styles
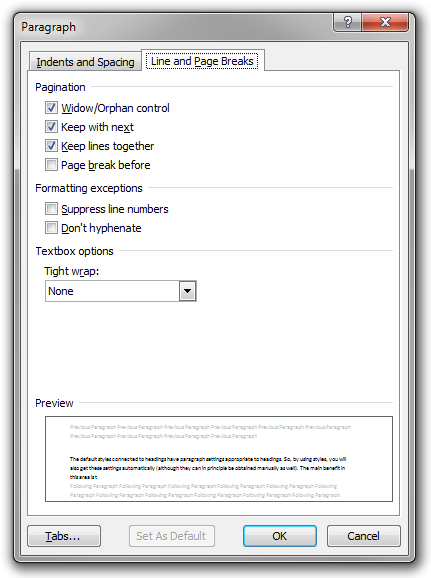
Let us talk more about headings. In Word, the default heading styles (named ‘Heading 1’, ‘Heading 2’, ‘Heading 3’, and so on) have paragraph settings appropriate to headings in particular. So, by using styles, you will also get these settings automatically (although they can be obtained manually as well, using direct paragraph formatting). The main benefit in this area is that Word will guarantee that a heading is not placed at the bottom of one page with the first paragraph in the new section starting at the top of the next page. This is because the styles of headings by default have the ‘Keep with next’ paragraph option set.

As mentioned earlier, Word will automatically generate the table of contents using the heading structure of the document. The best practice is to divide the entire text into ‘parts’ or ‘chapters’ using ‘Heading 1’, to divide these parts into sections using ‘Heading 2’, to divide the sections into subsections using ‘Heading 3’, and so on. Using this approach, you cannot use ‘Heading 1’ for the title of the document on the cover page. Instead, you should use the built-in ‘Title’ style for this one.
Of course, you could use ‘Heading 1’ on the cover page, for the title of the document, and then use ‘Heading 2’ as the highest level of heading inside the text. However, this will obviously have a negative effect on the generated TOC. It will also confuse assistive technologies, search engines, and other software reading the document.
